

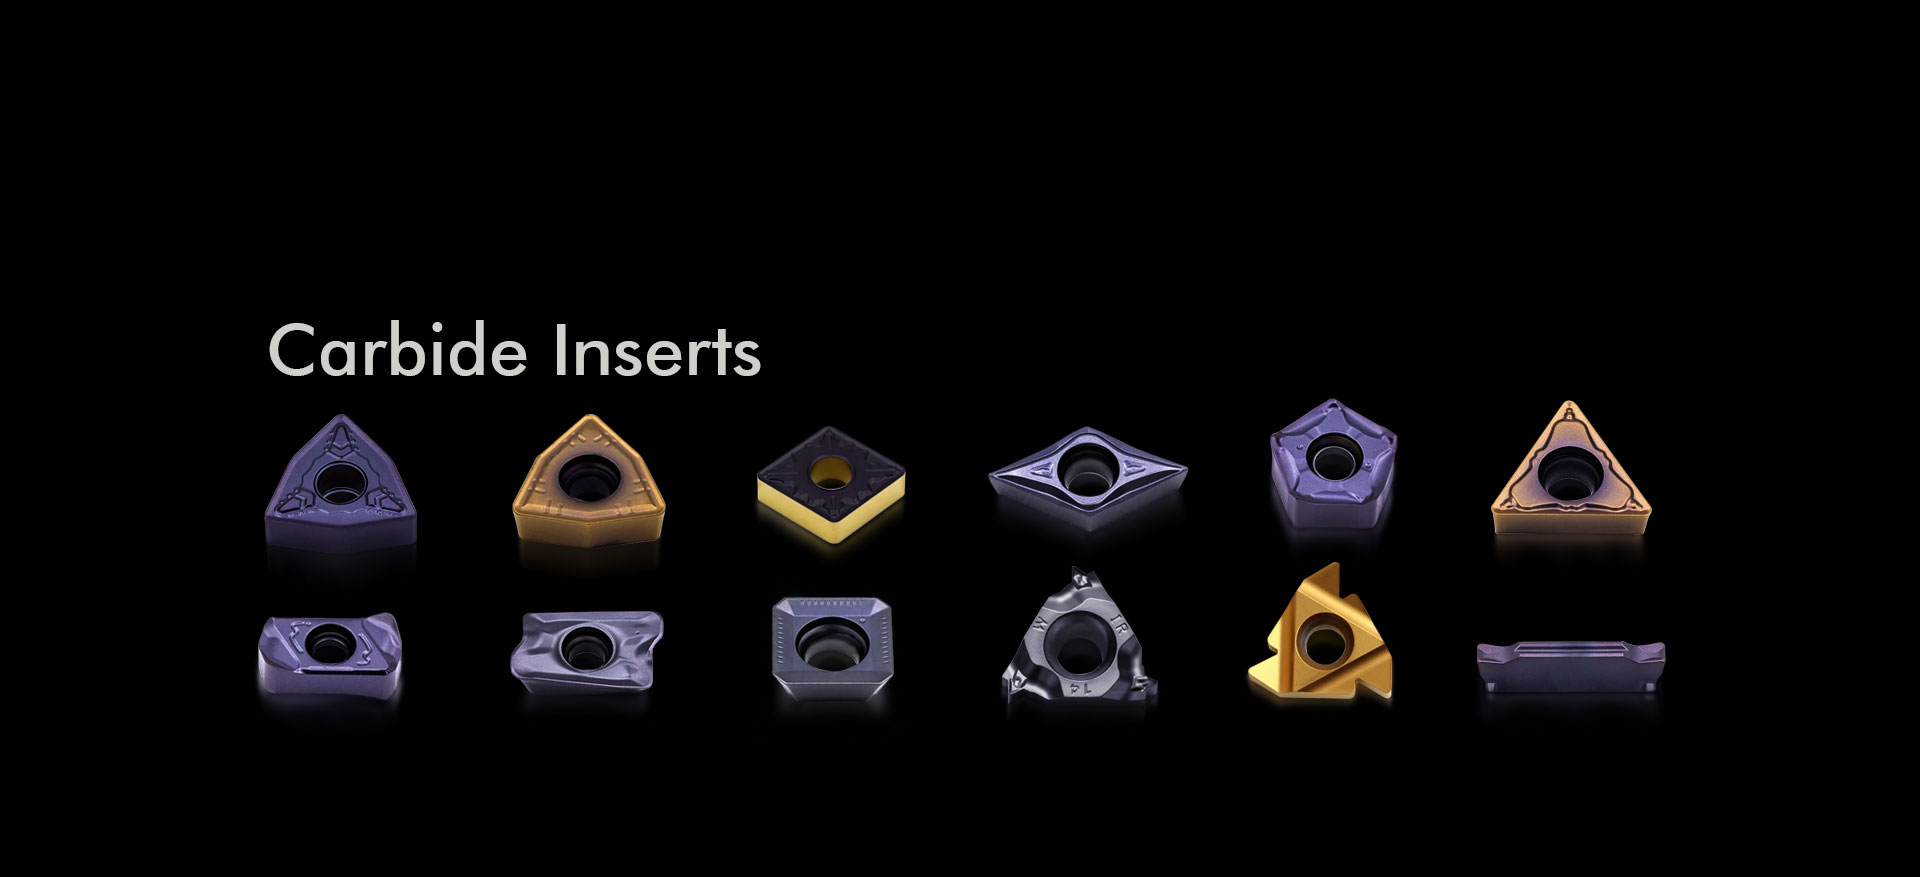
How to Identify Carbide Inserts: Decode the Mystery in 12 Simple Steps
- , by Mani Bhushan
- 10 min reading time
Walk into any machine shop in the United States, and you’ll find trays full of carbide inserts with different shapes, sizes, and codes stamped on each one. For someone new (and even for experienced machinists sometimes), identifying the right insert can feel confusing.
But here’s the truth: it’s not as complicated as it looks.
Once you understand how inserts are designed and labeled, you can quickly figure out what each one does and where to use it. This guide breaks everything down into 12 simple steps, so you can confidently choose the right insert without second-guessing.
Why Insert Identification Is So Important
In machining, the smallest detail can affect the entire job. Using the wrong insert doesn’t just slow you down; it can damage the workpiece, reduce tool life, and increase costs.
On the other hand, the right insert improves:
- Cutting efficiency
- Surface finish
- Tool life
- Overall productivity
That’s why experienced machinists rely on understanding, not guessing.
Step 1: Start with the Insert Shape
The first thing to notice is the shape. This tells you a lot about how the insert will behave during cutting.
Some shapes are stronger and better for heavy cuts, while others are designed for precision work.
For example:
- C = Diamond (80°) → Common in turning
- S = Square → Strong cutting edges
- R = Round → Heavy cuts
A CNMG insert is one of the most popular shapes used in turning operations.

Step 2: Understand the Clearance Angle
The second letter of the insert code indicates the clearance angle, which defines how the insert contacts the workpiece material.
For example:
- N = 0 (Negative Clearance Angle): These sit flat and offer superior durability. They are the preferred choice for heavy-duty production and roughing operations in the U.S. due to their longer tool life.
- C = 7 (Positive Clearance Angle): These have a relief angle that allows for smoother cutting with less resistance. They are ideal for precision finishing work where surface quality is a priority.
Choosing between negative and positive angles involves balancing strength and cutting smoothness. While positive inserts cut more easily, negative inserts like the popular CNMG are widely used in American machine shops for their ruggedness and longevity.

Step 3: Tolerance Class
This defines how precise the insert is.
- M = Medium tolerance
- G = High precision
For high-end CNC machining, tighter tolerances are preferred.

Step 4: Identify the Insert Type
Not all inserts are used the same way.
Some are designed for turning, where the workpiece rotates. Others are used in milling, where the tool rotates. There are also inserts specifically made for drilling.
Each type has a different geometry, so using the right one matters.
The fourth letter defines special features like:
- Chipbreaker
- Hole type
- Clamping system
This is where carbide insert identification charts become useful.

Step 5: Look at the Size
Insert size affects how much material it can remove. Larger inserts are better for heavy machining, while smaller ones are ideal for precision work.
Choosing the wrong size can lead to vibration or poor cutting performance.
Numbers in the code define:
- Size
- Thickness
- Corner radius
Example:
CNMG 120408
- 12 = size
- 04 = thickness
- 08 = nose radius

Step 6: Check the Insert Code

Every insert comes with a code. It might look complicated, but it’s actually a structured system.
A typical code includes:
- Shape
- Clearance
- Tolerance
- Size
- Thickness
- Nose radius
Once you learn how to read it, you can identify an insert in seconds.
Step 7: Focus on Nose Radius
The nose radius is the rounded tip of the insert.
A larger radius gives a smoother finish but requires more power. A smaller radius allows sharper cuts but may wear faster.
This is one of the most important factors in achieving the desired surface finish.
The nose radius affects:
- Surface finish
- Strength
Larger radius = smoother finish
Smaller radius = sharper cuts

Step 8: Check the Coating
Carbide inserts come with coatings like:
- TiN (Titanium Nitride)
- TiAlN
- CVD coatings
These coatings help with:
- Heat resistance
- Wear resistance
- Longer tool life
In high-speed machining environments, coated inserts are almost always preferred.
| Coating Type | Color | Key Benefits | Best Use Case |
|---|---|---|---|
| TiN | Gold | Low friction, basic wear resistance | General machining |
| TiAlN | Dark/Purple | High heat resistance, longer life | High-speed cutting |
| CVD | Matte/Gray | Thick coating, strong durability | Heavy-duty machining |
Step 9: Consider the Material You’re Cutting
Different materials require different inserts.
For example:
- Aluminum needs sharper inserts
- Steel requires stronger inserts
- Hardened materials need specialized coatings
Matching the insert to the material is key to good results.
Step 10: Understand Chip Control
Chip control might not seem important at first, but it plays a big role in machining.
Good chip control:
- Prevents tool damage
- Improves surface finish
- Keeps operations safe
Many inserts are designed with chip breakers to manage this.

Step 11: Use Reference Charts When Needed
Even experienced machinists use charts.
These charts help decode insert specifications quickly and accurately. Instead of memorizing everything, you can rely on visual references to guide your decisions.
Step 12: Match the Insert with Your Machine Setup
The final step is making sure the insert fits your machine and tool holder.
Even the best insert won’t perform well if it’s not properly matched with the setup. Always consider:
- Tool holder compatibility
- Machine capability
- Cutting conditions
Carbide Insert Chart Explained
A carbide insert chart helps you decode:
- Insert shape
- Size
- Angle
- Application
These charts are essential for machinists working with multiple tools.
Types of Carbide Inserts (Real Use)
 Turning Inserts
Used in lathe machines
Example: CNMG insert
Milling Inserts
Used in end mills and face mills
Example: APMT, JDMT, SDMT
Drilling Inserts
Used in U drills
Designed for fast material removal
Common Mistakes to Avoid
Many machinists run into issues simply because of small oversights.
Using an insert designed for one operation in a completely different setup is a common mistake. Ignoring material compatibility is another.
Sometimes, inserts are chosen based on availability rather than suitability, which leads to poor performance.
Avoiding these mistakes comes down to understanding the basics and paying attention to details.
Many machinists make simple mistakes:
- Choosing the wrong insert shape
- Ignoring insert grade
- Using a turning insert in milling
- Not checking the inserted chart
These mistakes lead to:
- Poor performance
- Tool failure
- Increased cost
Why Indexable Inserts Are Widely Used Today
Across the U.S., machining has shifted toward indexable insert systems.
Instead of replacing the entire tool, you replace only the insert. This saves time, reduces cost, and ensures consistent performance.
It’s one of the main reasons carbide inserts are so popular in modern manufacturing.
Pro Tips for Selecting the Right Insert
When choosing a carbide insert, always consider:
- Material (steel, aluminum, etc.)
- Machine type (CNC/manual)
- Operation (turning/milling/drilling)
- Required finish
A good carbide insert guide helps simplify this process.
Final Thoughts
Identifying carbide inserts doesn’t have to be complicated. Once you understand how shape, size, and application work together, the process becomes straightforward.
Instead of guessing, you’ll be able to choose inserts with confidence, improving both efficiency and quality in your machining work.
Understanding how to identify carbide inserts is a valuable skill for anyone involved in machining. From reading insert codes to selecting the right shape and size, each step plays a role in achieving better performance and accuracy.
For professionals and workshops looking for reliable tooling solutions, having access to a wide variety of inserts makes the process much easier. Buyohlic International offers a diverse range of carbide inserts and indexable tooling designed for real-world machining applications. Whether it’s turning, milling, or drilling, having the right tools available helps ensure consistent and efficient results.
In the end, the combination of the right knowledge and the right tools is what leads to success in machining.
FAQs
How do I identify a carbide insert quickly?
Start by reading the insert code and identifying its shape, size, and application.
Are all inserts interchangeable?
No, each insert is designed for a specific operation and material.
Why is the nose radius important?
It affects surface finish and cutting strength.
Do I always need coated inserts?
Not always, but coatings improve performance in most cases.
What is a carbide insert chart?
A carbide insert chart helps identify insert shape, size, and application based on its code.


Great Value
Most popular brands with widest range of selection at best prices.
Nationwide Delivery
Over 20,000 pincodes serviceable across India.
Secure Payment
Partnered with India's most popular and secure payment solutions.
Buyer Protection
Committed to buyer interests to provide a smooth shopping experience.